This is a continuation from part two.
~>: Part 3 :<~
Pieces are cut, and ready to sew! Some quick basics on how I sew: french seams are one of my favorite seam finishes. I use them like crazy in my sewing, because it ends up as a smooth, soft finish that is very comfortable against sensitive skin. It’s incredibly durable, keeping the raw edges sandwiched between the layers of fabric so it will not ravel over time. I take the time to press my seams, because a garment doesn’t look complete without ironing at each step. My instructions will mostly ignore talking about that, and assumes that anyone following along already knows that it’s a part of the process.

When I’m doing cotton waistbands, I typically do a full drawstring waistband of 60 inches, but since I’m trying out a smooth front, drawstring back variation, I’ve cut the two back pieces down to -insert measurement here- inches.
The front will be one piece, and the back will be two pieces with the opening for the drawstring ends in the center back.
I stitch all three pieces together at the edges, keeping an opening in the stitching at the center back for the drawstring ends to come through.


For the opening, I fold the seam allowances over, encasing the raw edges. I stitched the folds down a 1/4 inch away from the opening seam.
For the waistband’s side seams, I serged the seam allowances. I wanted a little less bulk than I would get with french seams here, since these seams are going to meet up with the french seams of the skirt body.
At this point, the waistband is ready to attach to the body of the skirt! But since I still have that to go, the waistband got set aside for the next portion: sewing the main skirt.


Before I sew the front and backs of the skirt body together, I need the pockets to be in place so they’ll be caught in the side seams of the skirt. So I placed each pocket along the side seams, aligning the top edges of the pocket and skirt body.
At this point, I basted the side seam of the pockets to the skirt panel’s sides to prepare for the french seam. The rest of the pocket is still free-floating.
With the pocket sides basted in place, the front skirt panel is ready to be stitched to the back skirt panel!


I love french seams. All raw edges are fully encased, protected, and leaves you with a soft, smooth finish that is incredibly durable. They’re my go-to seam finishing method!
With the side seams stitched, it’s time to hem the bottom edge. I prefer a hem of 3/8 inch, but my design didn’t quite allow for that. So I used a 1/4 inch seam, double turning the edge for a clean hem. I use a hem foot that has a turner attached, but I tend to get frustrated with the turner, so I push it out of the way and turn the fabric by hand for it to smooth out with the foot’s channel.
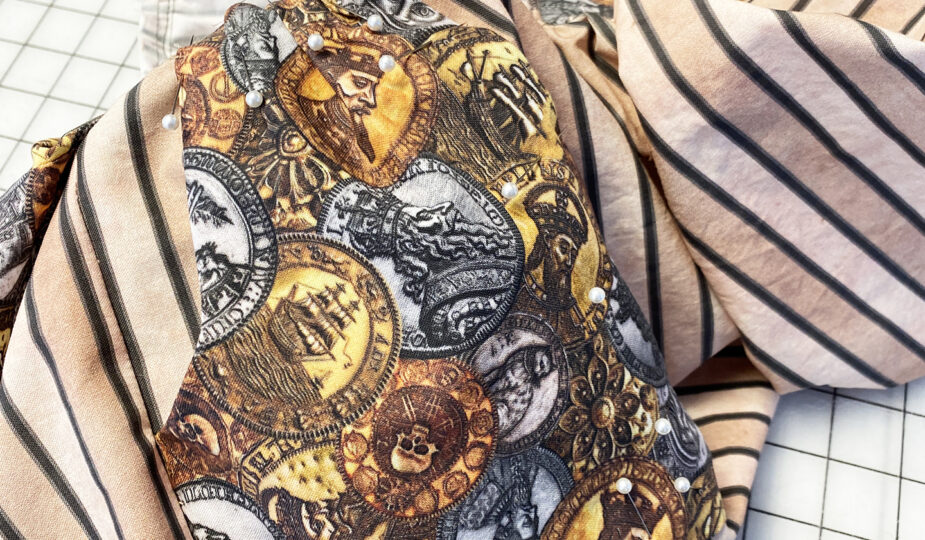
You can see that even with the 1/4 inch hem, my stitching slightly overlaps the frames of the pirate cat portraits. Oh well.


With the hem done, it’s time to gather the top of the skirt body! After stitching long gathering stitches across the front and back skirt panels, I pinned the waistband side seams to the side seams of the skirt body. Since I’ve designed this to be larger in the back than the front for a drawstring fit, I need different gathering amounts on the front versus the back of the skirt. I gathered each the front and the back panels to fit the waistband.
Hey, remember how I didn’t sew the rest of the pockets on yet? It’s time to get those set in place before the waistband gets stitched on! Part of why I didn’t do this before was because I was utterly winging how to do the top of the pockets.


I ended up hand pleating the top of each pocket and pinning it to the gathered edge of the skirt. The rest of the pocket is pinned into place so that it’s smooth to the skirt panel beneath it. I used the stripes to help me align the front edge of the pocket to where I wanted it to be.
I stitched the front and bottom edges of each pocket twice, about 1/8″ away from the edge, then 1/4″ away from the edge, to the body of the skirt. I also basted the top of the pockets to the skirt panel, so that it’s set in place for adding the waistband.


A nice little close-up of the front corner on one of the pockets. The stitching might be subtle, and not noticeable by anyone else when I wear this skirt, but it should make for durability to use these pockets over the years.
Time to stitch the waistband! I sewed the edges at 5/8 inch which cleared all of my gathering and basting stitches. I mean, I’m not going to remove my basting stitches. I should probably call it stay-stitching, but honestly I’m just lazy to not remove the basting. No one is going to notice.


And here’s how the top of the pocket ended up looking after adding the waistband. Yes, I did go and trim away those random threads. Not too terrible for figure-it-out-as-I-go pockets! Especially since I’m not used to adding pockets into my creations in general.
Welp, that was a huge post, so we’ll break here. Next up, fixing a stupid mistake, adding a lining, and finishing the skirt!
Continued in Part 4


[…] Continued in Part 3 […]